Tuesday, November 29, 2011

Project 10: Logo and Iteration

The goal of this project is to use digital media to develop an iconic design for the Linear Gallery. We were mean to create 24 separate logo designs by using the method of iteration. Some of my designs build off of each other, while some are separate entities.

The 24 Logos:


I began by reading the brief and thinking about what the Linear Gallery stood for. Not only is it a place to display art, but it is also a place to collaborate and share your ideas about the presented artwork. It is a place for artists, architects and contributors to have a discussion about important issues in their respective fields.

The first four designs were inspired by this idea of how people are involved. Some people create the work, while others critique it. The next three designs are all based around the space. The linear gallery has iconic divisions which I captured by using columns. Many ARCH242 students have drawn there and created work similar to the logos, so it not only represents the space, but also what this school stands for. The logos that follow use arrows and lines to create the logo, capturing the essence of the name and space. The "L" and the "G" were played around with following the "linear" logos. Like many logos, I tried to see what kind of dialogue came out of this exercise. Finally, I played around with the means of the words "Linear" and "Gallery" and tried to say as much with as few words. Some are metaphoric and allow the observer to think about why the logo is designed the way it is.

Tuesday, November 22, 2011

Project 9: Digital Fabrication

The goal of the exercise is to develop an intent and approach in translating a digital model into a physical one. We were to build upon what we learned from modeling the last project in FormZ.

Project 9 Process:


Instead of heading into FormZ immediately, I took time to sketch out a few ideas on paper. I began by thinking about what made the stair space from my last project interesting. In the source photo, the staircase frames a single space as it seemingly spirals up to it's maximum. In my previous digital model, this negative space became modelled as light as the staircase was reflected in the mirrors. With the space glowing, the stairs began to feel never ending. I took this idea of infinity and applied it to Project 9.

I looked a lot at M.C. Esher drawings to try to make the impossible a reality. If the last project was all about an infinite vertical space, this 3-Dimensional physical model had to be an infinite object in the round. My model simulates a staircase that is never ending. The model flips seamlessly up and down, side to side, to allow someone to trace their way all around the model. Whenever the observer gets to the edge, the model can always be flipped so the person is then standing on a platform or staircase.

When creating the object, I kept in mind a few parameters. If I pushed a staircase up, I had to push one down. Also, I tried not to allow the staircases to run into walls; however, this was the hardest parameter to keep solely because when you flipped it onto a different axis, the walls became floors and vice versa.

Sunday, November 13, 2011

Project 8: Surface and Light

The goal of this project was to model a texture or space and then see how different styles of light played off of the surface of the objects. We were to collect two source pictures: one of a texture and one of a space. We were then to use views of only one of these models.

Source Image 1: Texture of Ceiling Pattern in Art/Soc Building


Source Image 2: Stair Well Space in Business School


I decided to take the views from my model depicting the stair case. I thought this space was interesting because of how the stair case elements seemingly spiraled upwards towards infinity. I abstracted the space in my model to only include the staircase. I placed a plane touching the bottom of the model and a plane touching the top of the model and then turned the material of these planes into a mirror. When you place yourself in the model, it gives off the same effect; however, it really emphasizes the idea of spiraling into infinity. The lighting schemes play around with both linear (natural) and radial (artificial) light; however, you couldn't tell without the labels. For some reason, there isn't that much distinction between the two. I also played around with transparencies which helped to created a deeper space because all of the forms began to overlap each other. The views below are part of the stair case model.

Model Axon:

Views 1 & 2 (Natural Light with Transparent Staircases) :

Views 3 & 4 (Artificial Light with Solid Staircases):

Views 3 & 4 (Artificial Light with Transparent Staircases):
Views 5 & 6 (Hybrid Light):

Thursday, November 3, 2011

Project 7: Page, Spread, Layout

The goal of this project was to explore, compose and design a graphic system that could then be applied to the design of an Architecture Portfolio. We were to explore grid and datum across the spread of two pages.

Design of the portfolio:

The pages that I have designed are 6" x 9". I have chosen to make them smaller than standard 8.5" x 11" because of how I want people to interact with the portfolio. When pages are standard size, there can be too much white space or too much information collaged onto the spread. By shrinking the size of the page, you limit how much information is on each page and thus have to think about what the project is really about. The determination of the page size is an economical choice as well. By making the pages smaller than standard sizes, you can print each page yourself and don't need an oversized professional printer.

Spread 1:


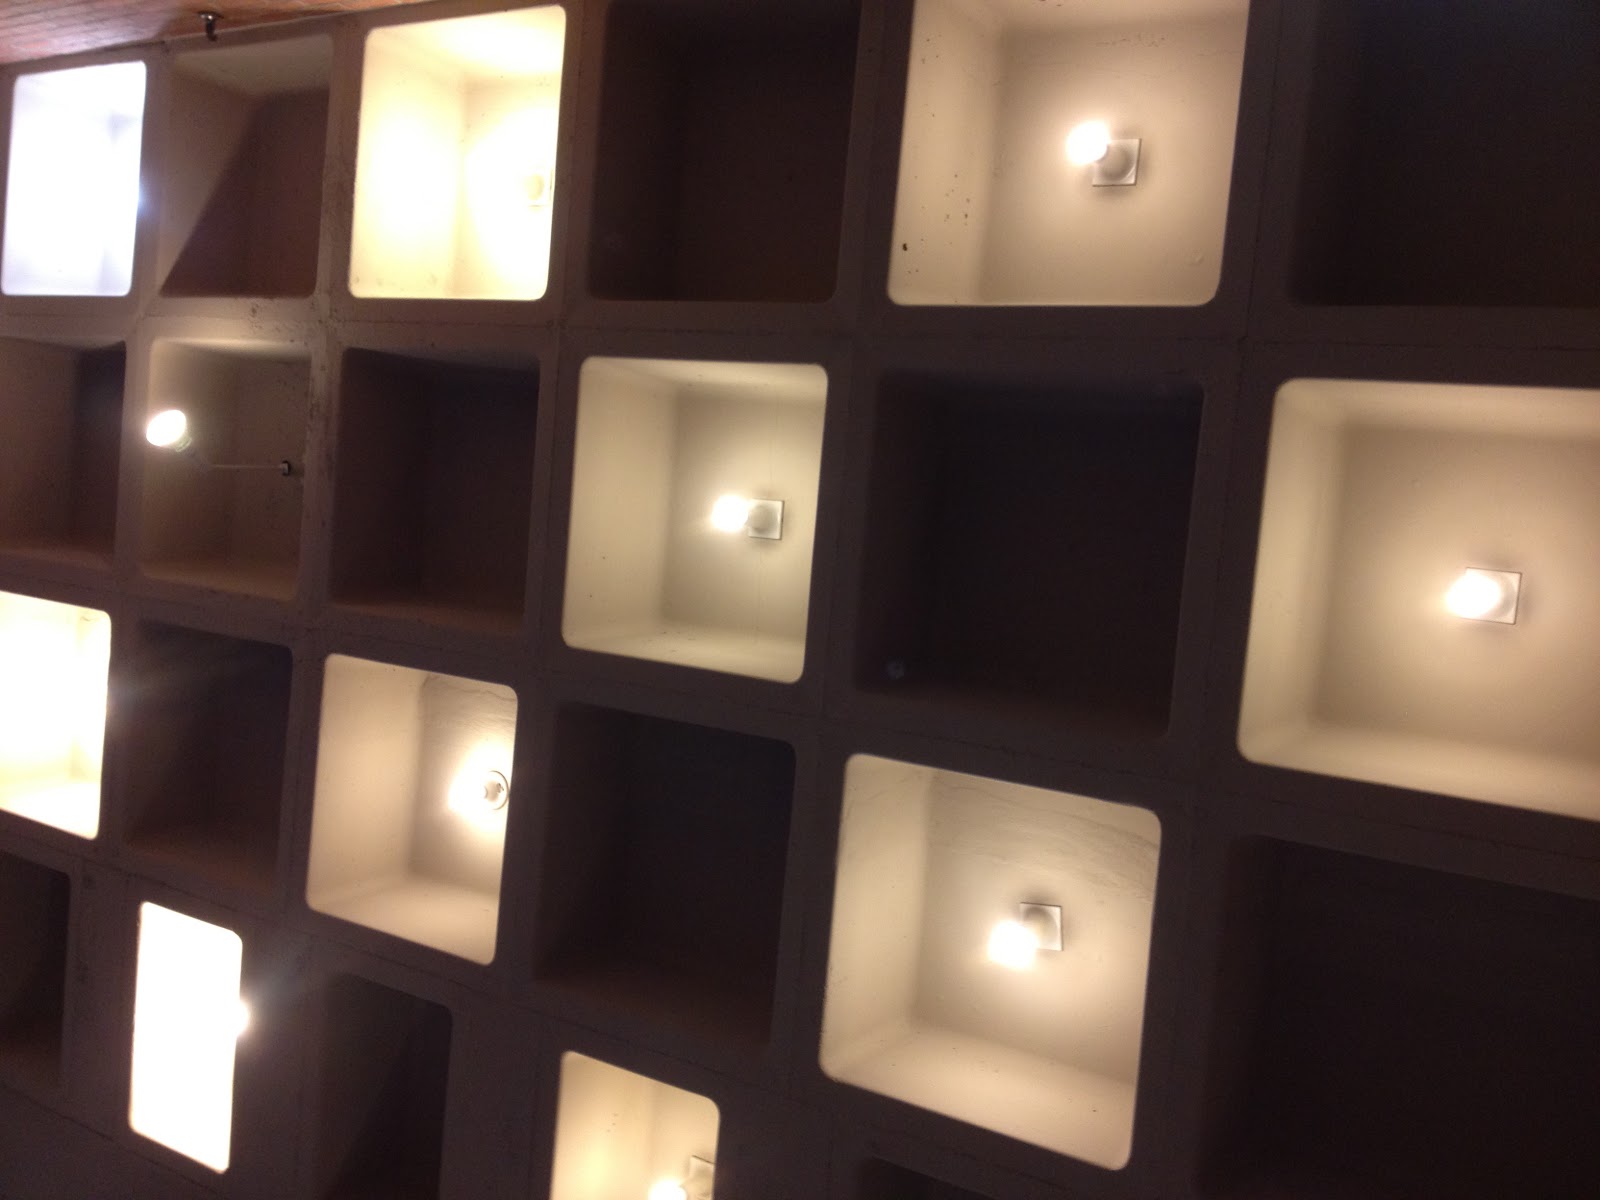
The first of the two spreads acts as the title page and orienting spread to the project. On the left page, I have used a section perspective to not only capture the attention of the audience, but to also completely explain the project in one image. This image says it all about the project; therefore, it deserves to be the hierarchical element across the spreads. The site and floor plans are used as diagrams to key the observer into the perspective.  Furthermore, if you hadn't already figured out the project from the section, a small parti diagram is placed in the top right corner. Since the text comes secondary to the images, the text blocks respect the natural datums of the images.

Spread 2:


The second spread consists of the process pages to my project. On the left, the sketches of the facade are placed into a regular grid showing how the facade had transformed over time. By giving no single image hierarchy on the page, the page can be read as a study rather than part of my final design. The right page is similar to the left one; however, it incorporates more white space and gives the viewer a break from the overload of information on the left.

Resume Design:


The resume page follows a similar heading format to the other pages in the portfolio. My name and contact info remain separated from the rest of the page and is justified toward the center of the body of text. The remaining text is justified either to the left or the right side. I employed different "weight" in the text to signify importance and headings. The most relevant information remains in a more bold font and the descriptive text is lighter.